Zucchini Pizza bites with air fryer chicken

On a recent trip to my grandmothers I was generously given 4 giant zucchinis and my mind was swirling with ideas. We are big zucchini fans and I first though of zoodles with pasta sauce, then zucchini chips, then I remembered seeing a pizza crust once, but to be honest, that sounded like a LOT of work!

So instead of making a zucchini crust, I made slices of zucchini, into the pizza base! And let me tell you it worked perfectly!

zucchini pizza bites.PNG

I wanted this to be a meal, so I decided to pull out the air fryer to add some lean protein to the veggie base meal and it was the perfect compliment!

Like any pizza recipe, you could alter this to include mushrooms, spinach, bacon, banana peppers, onions, etc…

But for this one we kept it simple.

WHAT YOU NEED:

  • 3 small zucchini or one LARGE (about 1-1.5 pounds)
  • 1 Tbsp olive oil
  • 1 clove garlic , finely minced
  • Salt and pepper
  • 1 cup marinara sauce (I used Roa’s pizza sauce)
  • 1 cup shredded mozzarella cheese
  • 1/4 cup shredded parmesan cheese
  • 12-15  pepperoni slices
  • 1 pound skinless, boneless chicken breast

WHAT YOU NEED TO DO: 

  1. Preheat oven to 400 degrees. Line a large baking sheet with foil or parchment paper
  2. While oven is preheating prep chicken for Air fryer by spritzing with olive oil, salt and pepper. I used the “chicken” setting on my air fryer which was 400 degrees for 20 minutes (this is the one I have: AIR FRYER)
  3. While chicken is cooking prep the zucchini.
  4. Cut each zucchini into 1/4″ slices & pat insides dry with paper towels (cut portion) and place on prepared baking sheet.
  5. In a bowl, stir together olive oil and garlic then brush lightly over tops of zucchini. Add salt & pepper to taste.
  6. Top each zucchini with 1 Tbsp marinara sauce
  7. Sprinkle tops evenly with mozzarella cheese then with parmesan cheese.
  8. Top with pepperoni slices (placing them more near centers as the cheese will melt and spread).
  9. Bake in preheated oven 8-10 minutes (bake time will vary depending on how thick your zucchini are and how crisp/tender you want them).
  10. At this point the chicken should be finished cooking. Thinly slice chicken breasts, place on top of zucchini slices, add additional cheese, if desired, and broil on HIGH for two minutes.
  11. Remove from oven and ENJOY!

And this just proves my friends, that healthy eating can still taste amazing while promoting a positive healthy lifestyle and weightloss!

For more recipes check out my recipe page here!
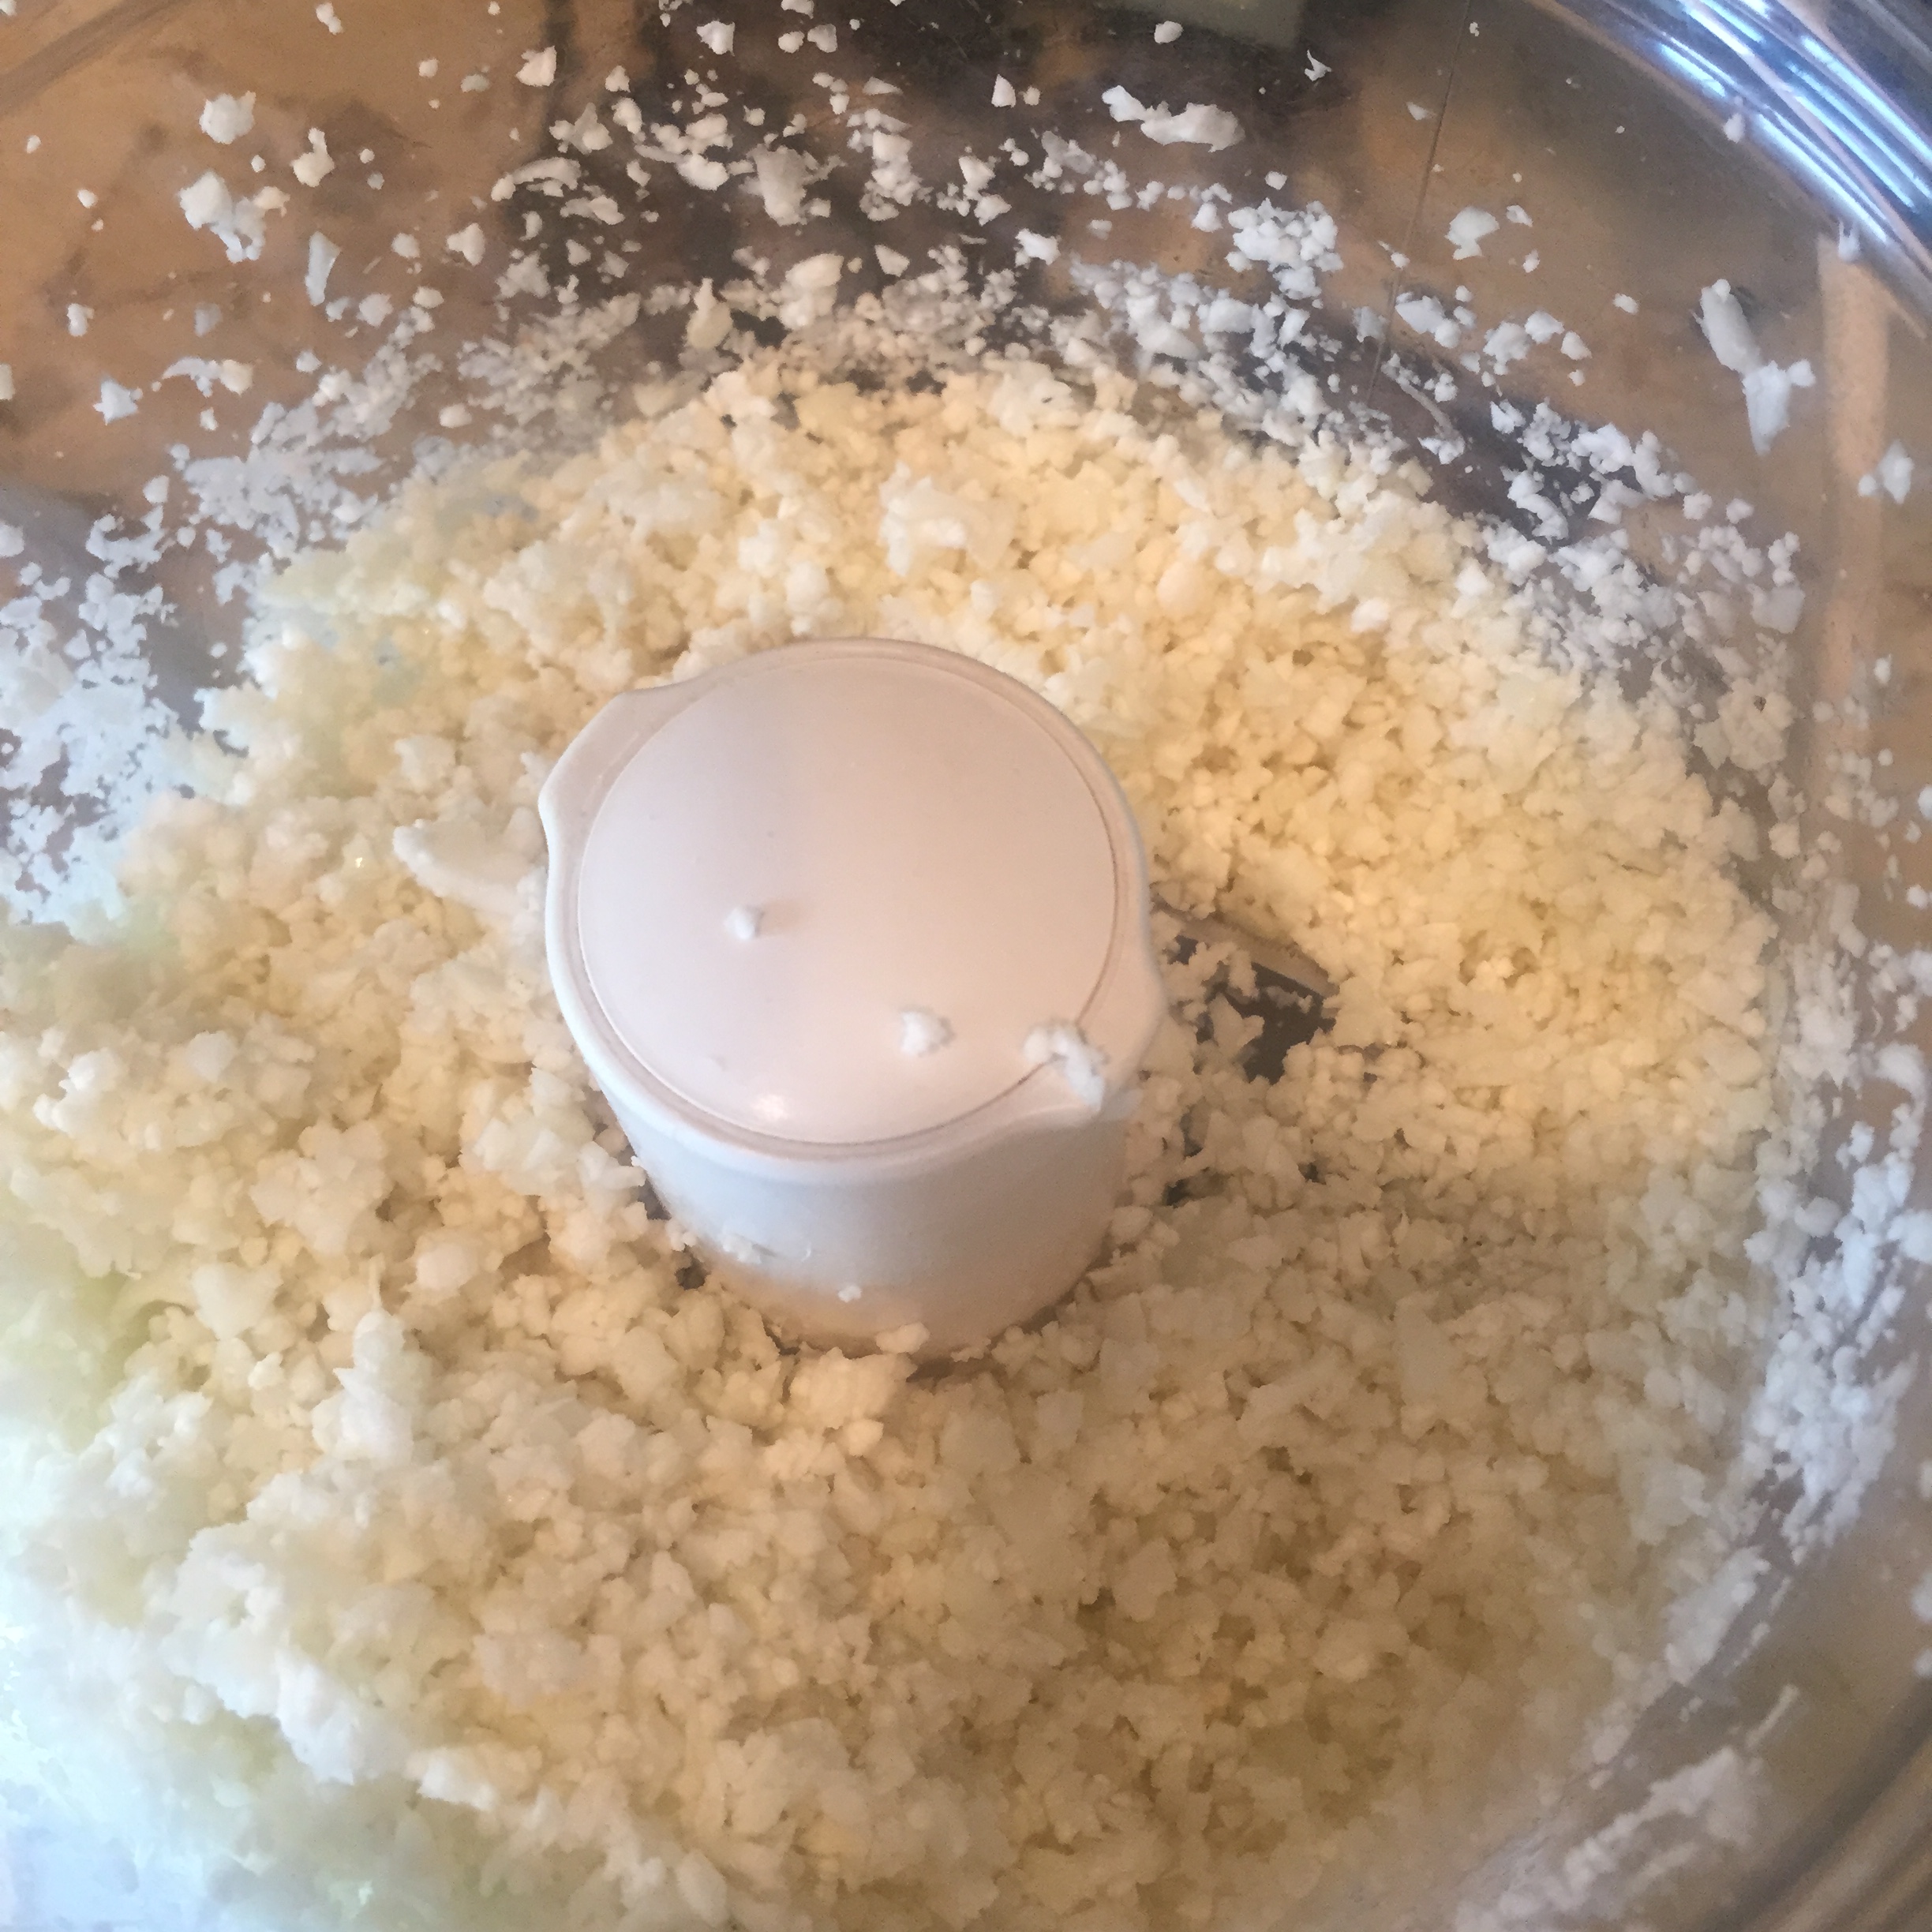
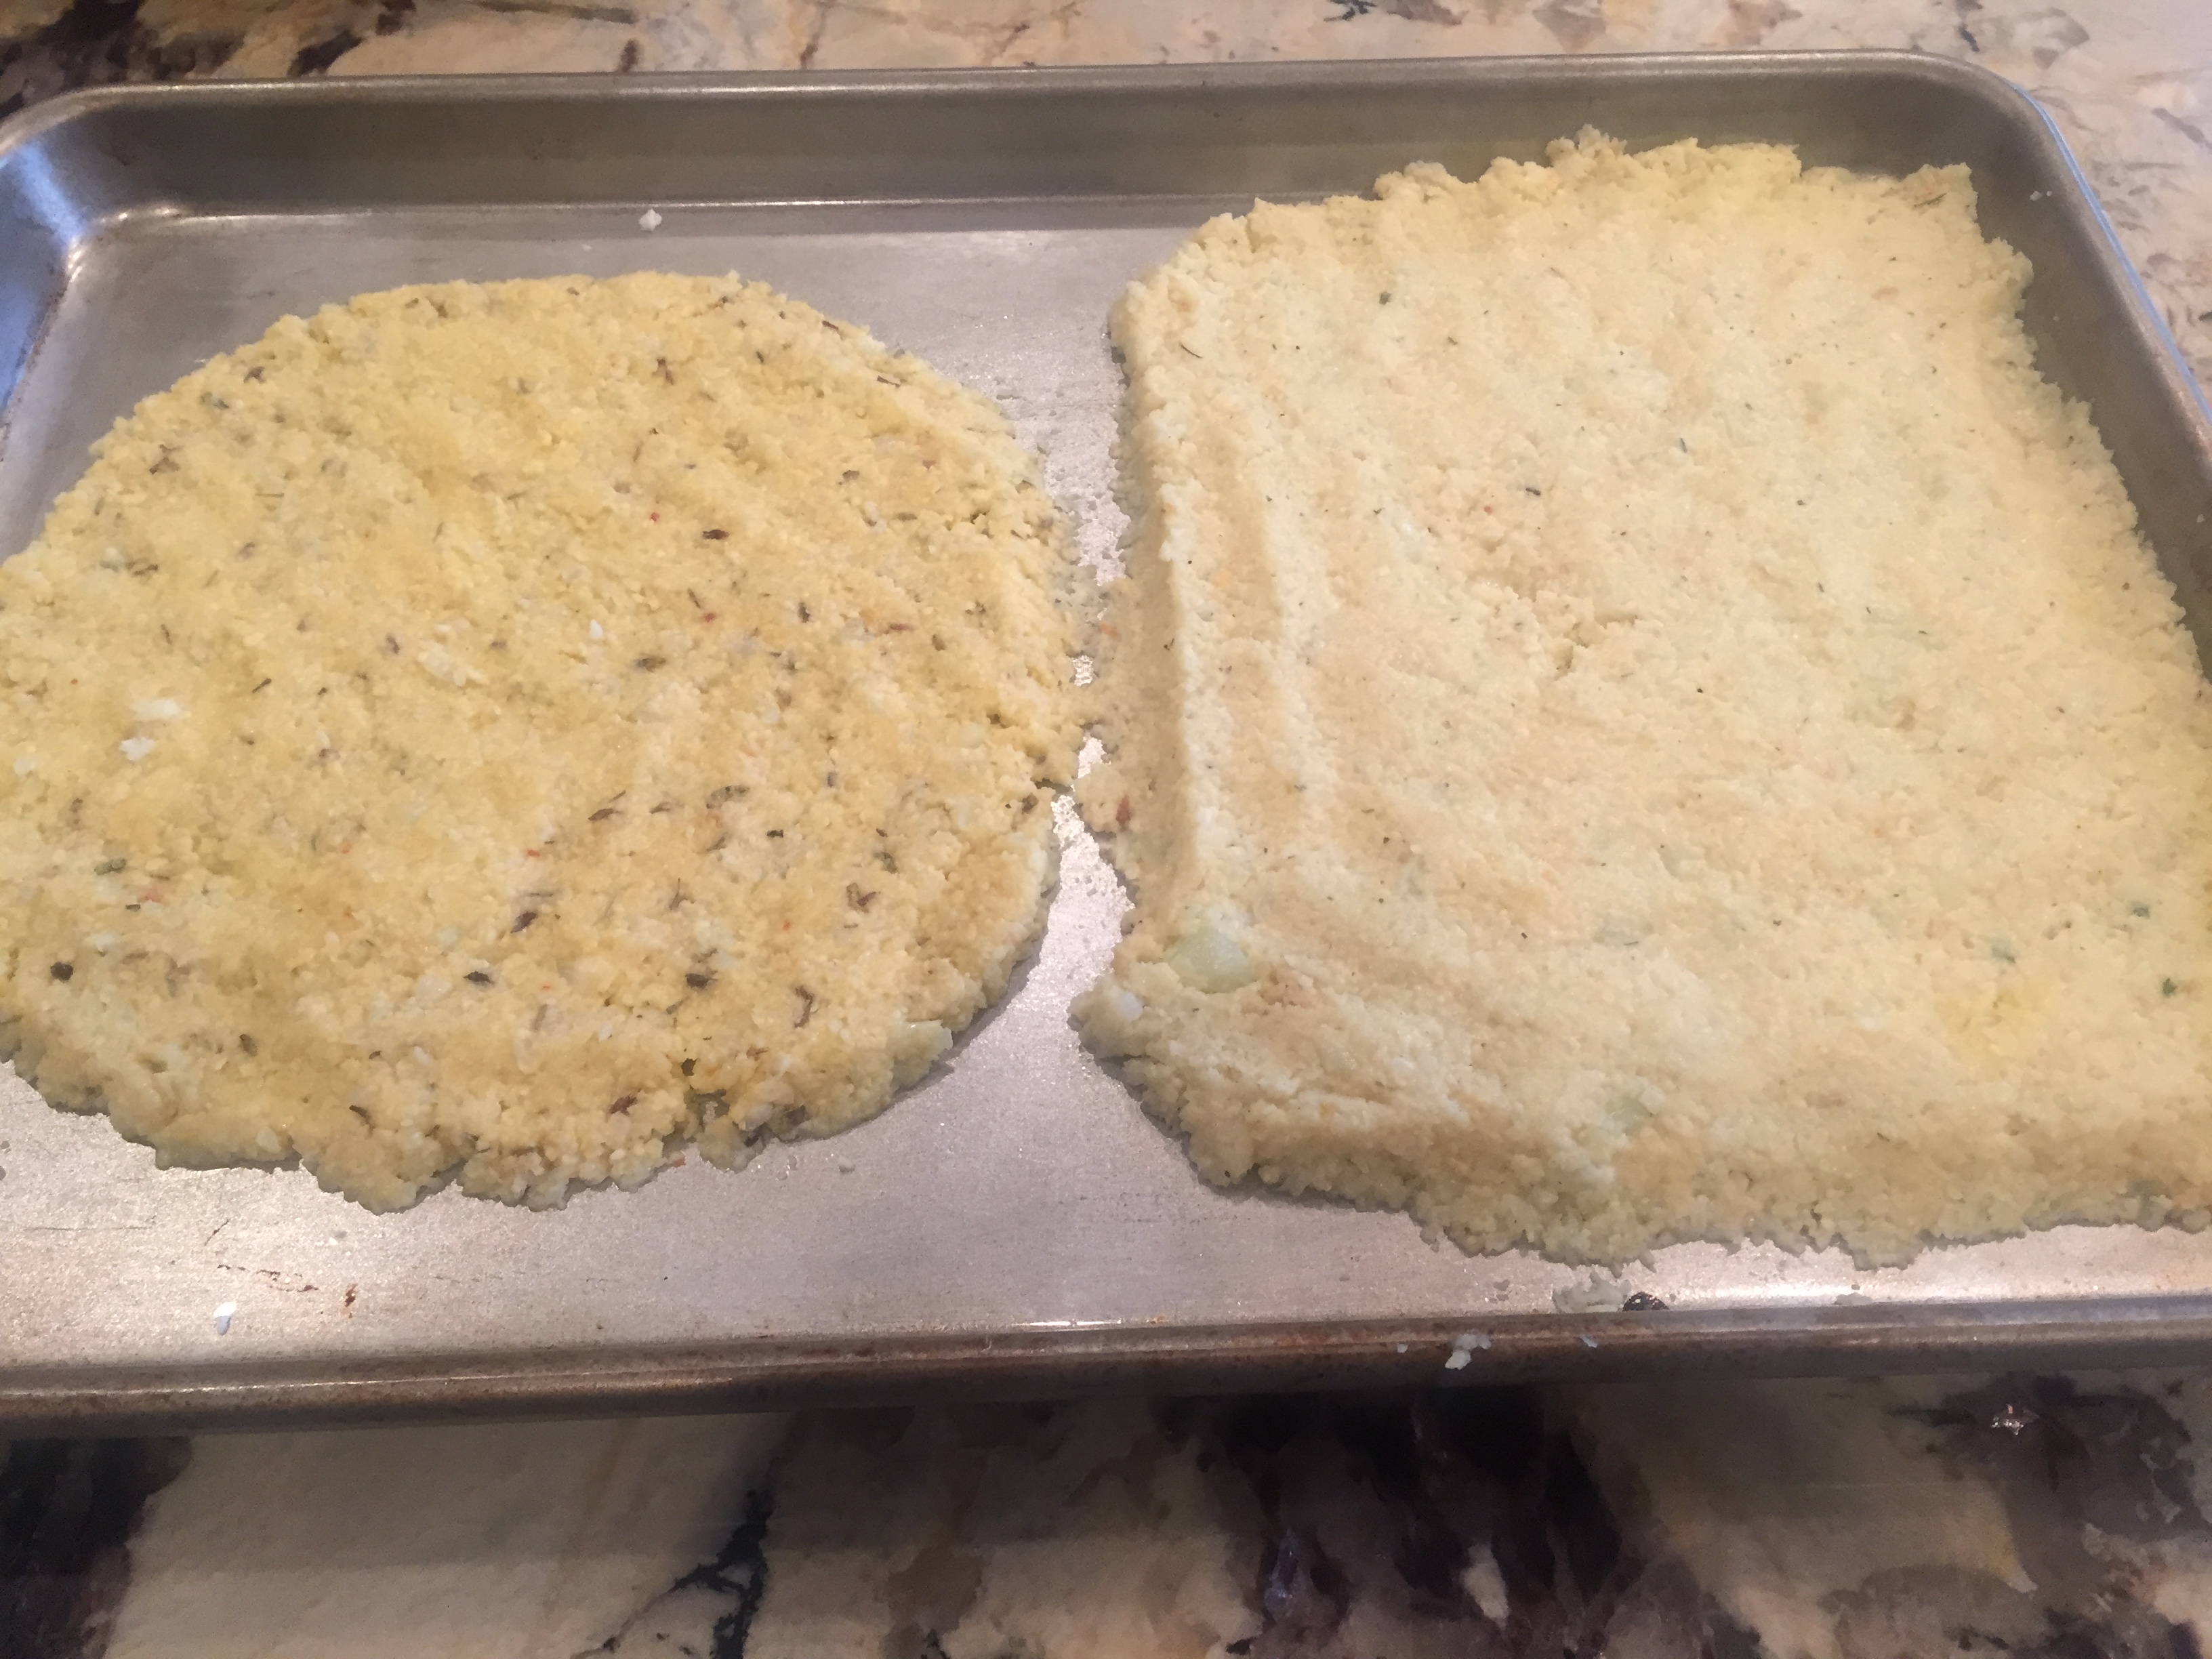
Also check out a great cauliflower pizza crust!

Maegan Blinka, Megan Blinka, cauliflower pizza, healthy pizza alternative, 21 day fix approved pizza,

The best Cauliflower Pizza crust

It’s not too often that I get a request from my hubby for dinner but last week he was quick to put our gluten free cauliflower crust pizza on the meal plan!

And with a childhood ritual of pizza Friday I figured this would fit in perfectly tonight.

cauliflower pizza.jpg

It takes a little bit of time to “rice” the cauliflower but all in all its a pretty easy meal to throw to gether and my toddler didn’t blink an eye that this tasted different than the take out stuff!

WHAT YOU NEED:
  • 3/4  head cauliflower (about 3 cups riced)
  • 1 TBS garlic, minced
  • 1 cup shredded cheese (I used a blended pizza cheese, mozzarella would be fine!)
  • 2 eggs, beaten
  • 1.5 teaspoon basil
  • 1.5 teaspoon oregano

Note: the above is just for the crust.

I added one cup all natural pizza sauce (watch the label for no added sugars), 1 cup of cheese, some spinach and chicken to make ours a more complete meal! I also think banana peppers would have been a great addition but you make it the way you want!!! That’s the one good thing when you’re making it from home – its all up to YOU!

WHAT YOU NEED TO DO:
  1. Pre-heat oven to 400° F.
  2. Prep a cookie sheet or pizza stone by grease it with oil. I used a paper towel to really rub it in the stone! Alternatively you could use foil in a pan to reduce the chance of it sticking!
  3. Remove the stems and leaves from your cauliflower and chop the florets into chunks. Add to a food processor and pulse just until the texture is similar to rice. I did this in very small batches – probably a total of 6 times to get the 3 cups riced! If you don’t have a food processor or Vitamix, you can grate the cauliflower with a cheese grater or chop it very small.
  4. Sauté the cauliflower for approximately 8 minutes over medium heat. (The first time I made this I microwaved it but this time I sauteed – not much of a difference!)
  5. Combine the cooked cauliflower and all other ingredients.
  6. Spread dough out evenly over foil (or stone) – about ¼  inch thick. The pizza should be about 9-10 inches in diameter or if you use a square like I did about 10×10.
  7. Bake for 30 minutes or until the crust begins to brown and its cooked thoroughly.
  8. Remove the crust from the oven and add sauce, cheese and other toppings.
  9. Broil the pizza for 5 minutes, or until the toppings are hot and the cheese is melted. Allow the pizza to cool for 2-3 minutes then cut and serve immediately.(Note:While the crust was baking I pan fried 2 chicken breasts in olive oil with 1 TBS of my favorite Sweet Baby Rays BBQ sauce. The chicken was heavy so I broiled – then added the chicken)

I was so excited to share this with all my challengers!

So many people begin to eat clean or try to eat healthier and they think they can’t have their favorite foods when in reality you can – its just about learning how to make little twists and tweaks so you can enjoy new favorites and know you’re fueling up with quality nutrition – that you can still feed your littles!


Whether you’re new to clean eating or a seasoned pro, its always a good idea to keep learning and trying new things!

As an online health & Fitness coach I take in pride in helping others live their life in true balance with their health and happiness! If you’re interested in learning more about clean eating and not already working with a coach please fill out my form below and I will get back to you within 24 hours!

Cauliflower Crust Pizza

Well…I did it. I finally did it!

Cauliflower Crust pizza, 21 day fix approved pizza ideas, Maegan Blinka, top coach, clean eating ideas, clean eating recipes, gluten free pizza crust, healthier pizza alternatives, homemade gluten free pizza crust, how to hide vegetables for your kids

After buying 3 heads of cauliflower (that ended up sitting in my fridge until they grew mold) the 4th one was a charm!!! I braved the ever intimidating cauliflower crust pizza and while it was a bit time consuming at first I have to say – it was a family hit!!! I love that it is gluten free and while a bit too many blues for my usual 21-day fix approved daily nutrition plan – it was a hit and will be back in the rotation for sure!!!

WHAT YOU NEED:
  • 2 cups riced cauliflower (it will reduce to about 1 cup cooked, riced cauliflower. One large head will make about 6 cups of riced cauliflower…enough for 3 pizzas. You can cook multiple at once and eat as leftovers or save for another day/another meal)
  • 1/3 cup shredded mozzarella cheese
  • 1/3 cup grated parmesan cheese
  • 1 egg, beaten
  • 1 tsp roasted red pepper and garlic seasoning (you could use garlic, onion, italian, etc…just a little bit of something to spice it up)
  • 1 tsp crushed garlic
  • Pizza sauce and toppings of your choice!
WHAT YOU NEED TO DO:

1. To rice the cauliflower, cut into florets then smaller chunks and pulse in a food processor until you see rice-like bits.  Do not over process, you don’t want it to be mushy!!!

Cauliflower Crust pizza, 21 day fix approved pizza ideas, Maegan Blinka, top coach, clean eating ideas, clean eating recipes, gluten free pizza crust, healthier pizza alternatives, homemade gluten free pizza crust, how to hide vegetables for your kids, what does riced cauliflower look like, how do you rice cauliflower

2. Microwave the riced cauliflower in a microwave-safe bowl for about 6 minutes (keep in mind all microwaves vary!!!) There is no need to add water – the cauliflower is all you need! After microwaving, move the cooked – riced cauliflower into a mesh strainer or cheese cloth and drain completely, pressing out excess water. Once drained, transfer to a clean dish towel or stack of paper towels and continue pressing out any excess water. This key is step – if you do not get the water out your crust will not be crispy!

3. Preheat oven to 450 degrees and spray a cookie sheet with non-stick cooking spray (I prefer olive oil spray!)

4. In a medium bowl, combine 1 cup riced, cooked cauliflower, 1 egg, beaten and your parmesan cheese. Next, add seasonings and crushed garlic. Make sure everything is well mixed – I prefer using my hands!!! Place the dough mixture on the cookie sheet and pat out 8-9” round or square pizza crust.

Cauliflower Crust pizza, 21 day fix approved pizza ideas, Maegan Blinka, top coach, clean eating ideas, clean eating recipes, gluten free pizza crust, healthier pizza alternatives, homemade gluten free pizza crust, how to hide vegetables for your kids, what does riced cauliflower look like, how do you rice cauliflower

(Note: I doubled the recipe to make two pizzas as shown below)

5. Bake your dough at 450 degrees for 12-15 minutes.

Cauliflower Crust pizza, 21 day fix approved pizza ideas, Maegan Blinka, top coach, clean eating ideas, clean eating recipes, gluten free pizza crust, healthier pizza alternatives, homemade gluten free pizza crust, how to hide vegetables for your kids, what does riced cauliflower look like, how do you rice cauliflower

Mommy’s little topping helper

6. Remove from oven. Add sauce, mozzarella cheese, and your favorite (pre-cooked) toppings to your pizza. We did one pizza with just cheese and sauce for the kiddos and one with chicken and sautéed spinach on the other.  Place pizza under broiler for about 2-3 minutes, or just until cheese is melted.

Cauliflower Crust pizza, 21 day fix approved pizza ideas, Maegan Blinka, top coach, clean eating ideas, clean eating recipes, gluten free pizza crust, healthier pizza alternatives, homemade gluten free pizza crust, how to hide vegetables for your kids, what does riced cauliflower look like, how do you rice cauliflower

ENJOY!!!!

If you have any other tweaks, ideas or great topping combos please share away!!

I like to keep my family recipes as CLEAN yet flavorful – as possible! We limit gluten but LOVE pizza so this was a big hit!!!

Whether you’re new to clean eating or a seasoned pro – if you’re interested in more information fill out the form below to join one of my upcoming health and fitness accountability groups! Its a place to share nutrition ideas, recipes, motivation, tips and help one another work towards those health & fitness goals!

Together we can end the trend of obesity!