Maegan Blinka, shakeology no bake, chocolate shakeology, vanilla shakeology, healthy cookie, all natural cookie, sweet treat, high protein snack,

Black and White No-Bakes

Maegan Blinka, shakeology no bake, chocolate shakeology, vanilla shakeology, healthy cookie, all natural cookie, sweet treat, high protein snack,

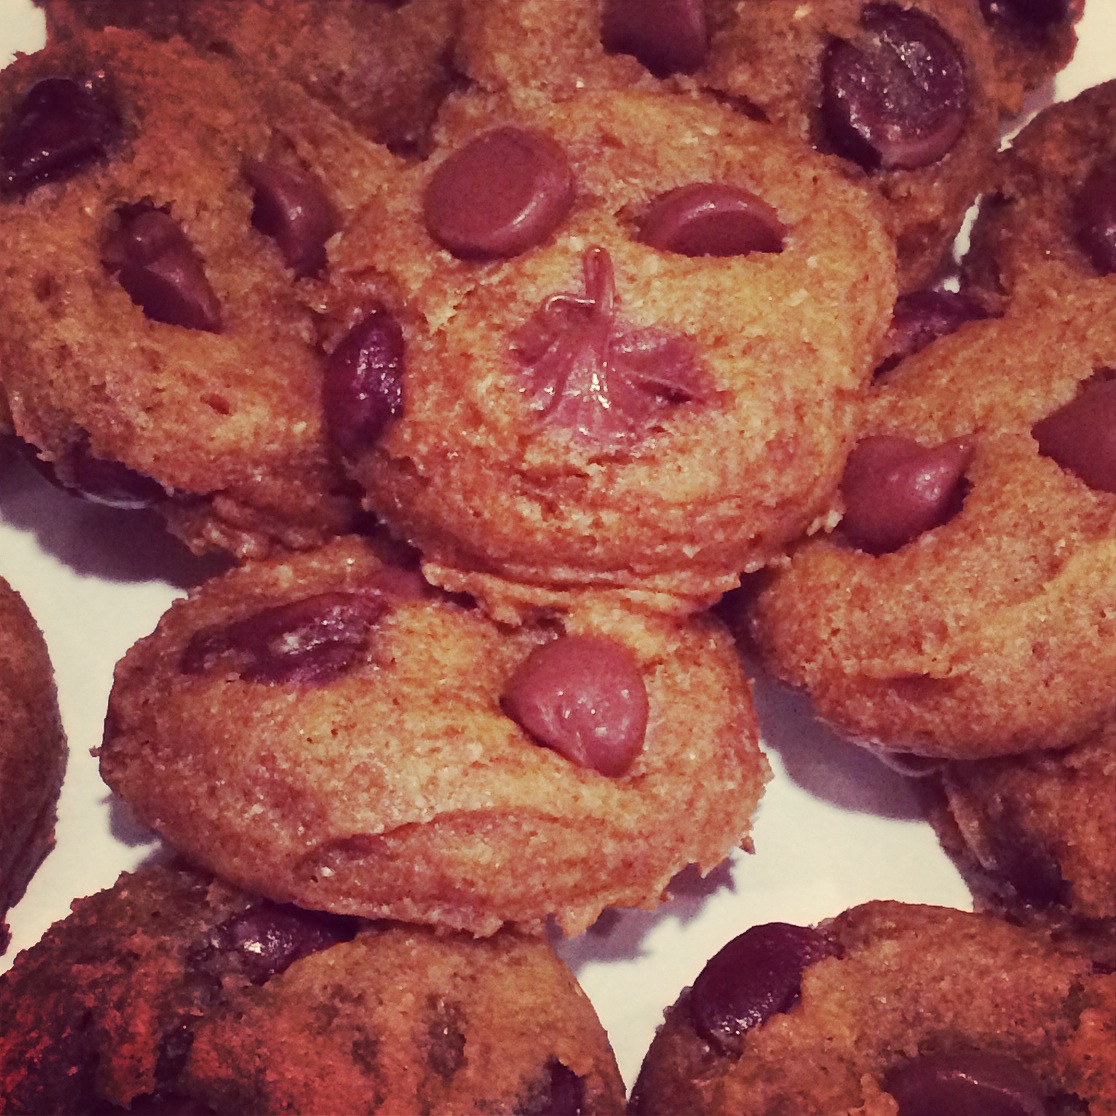
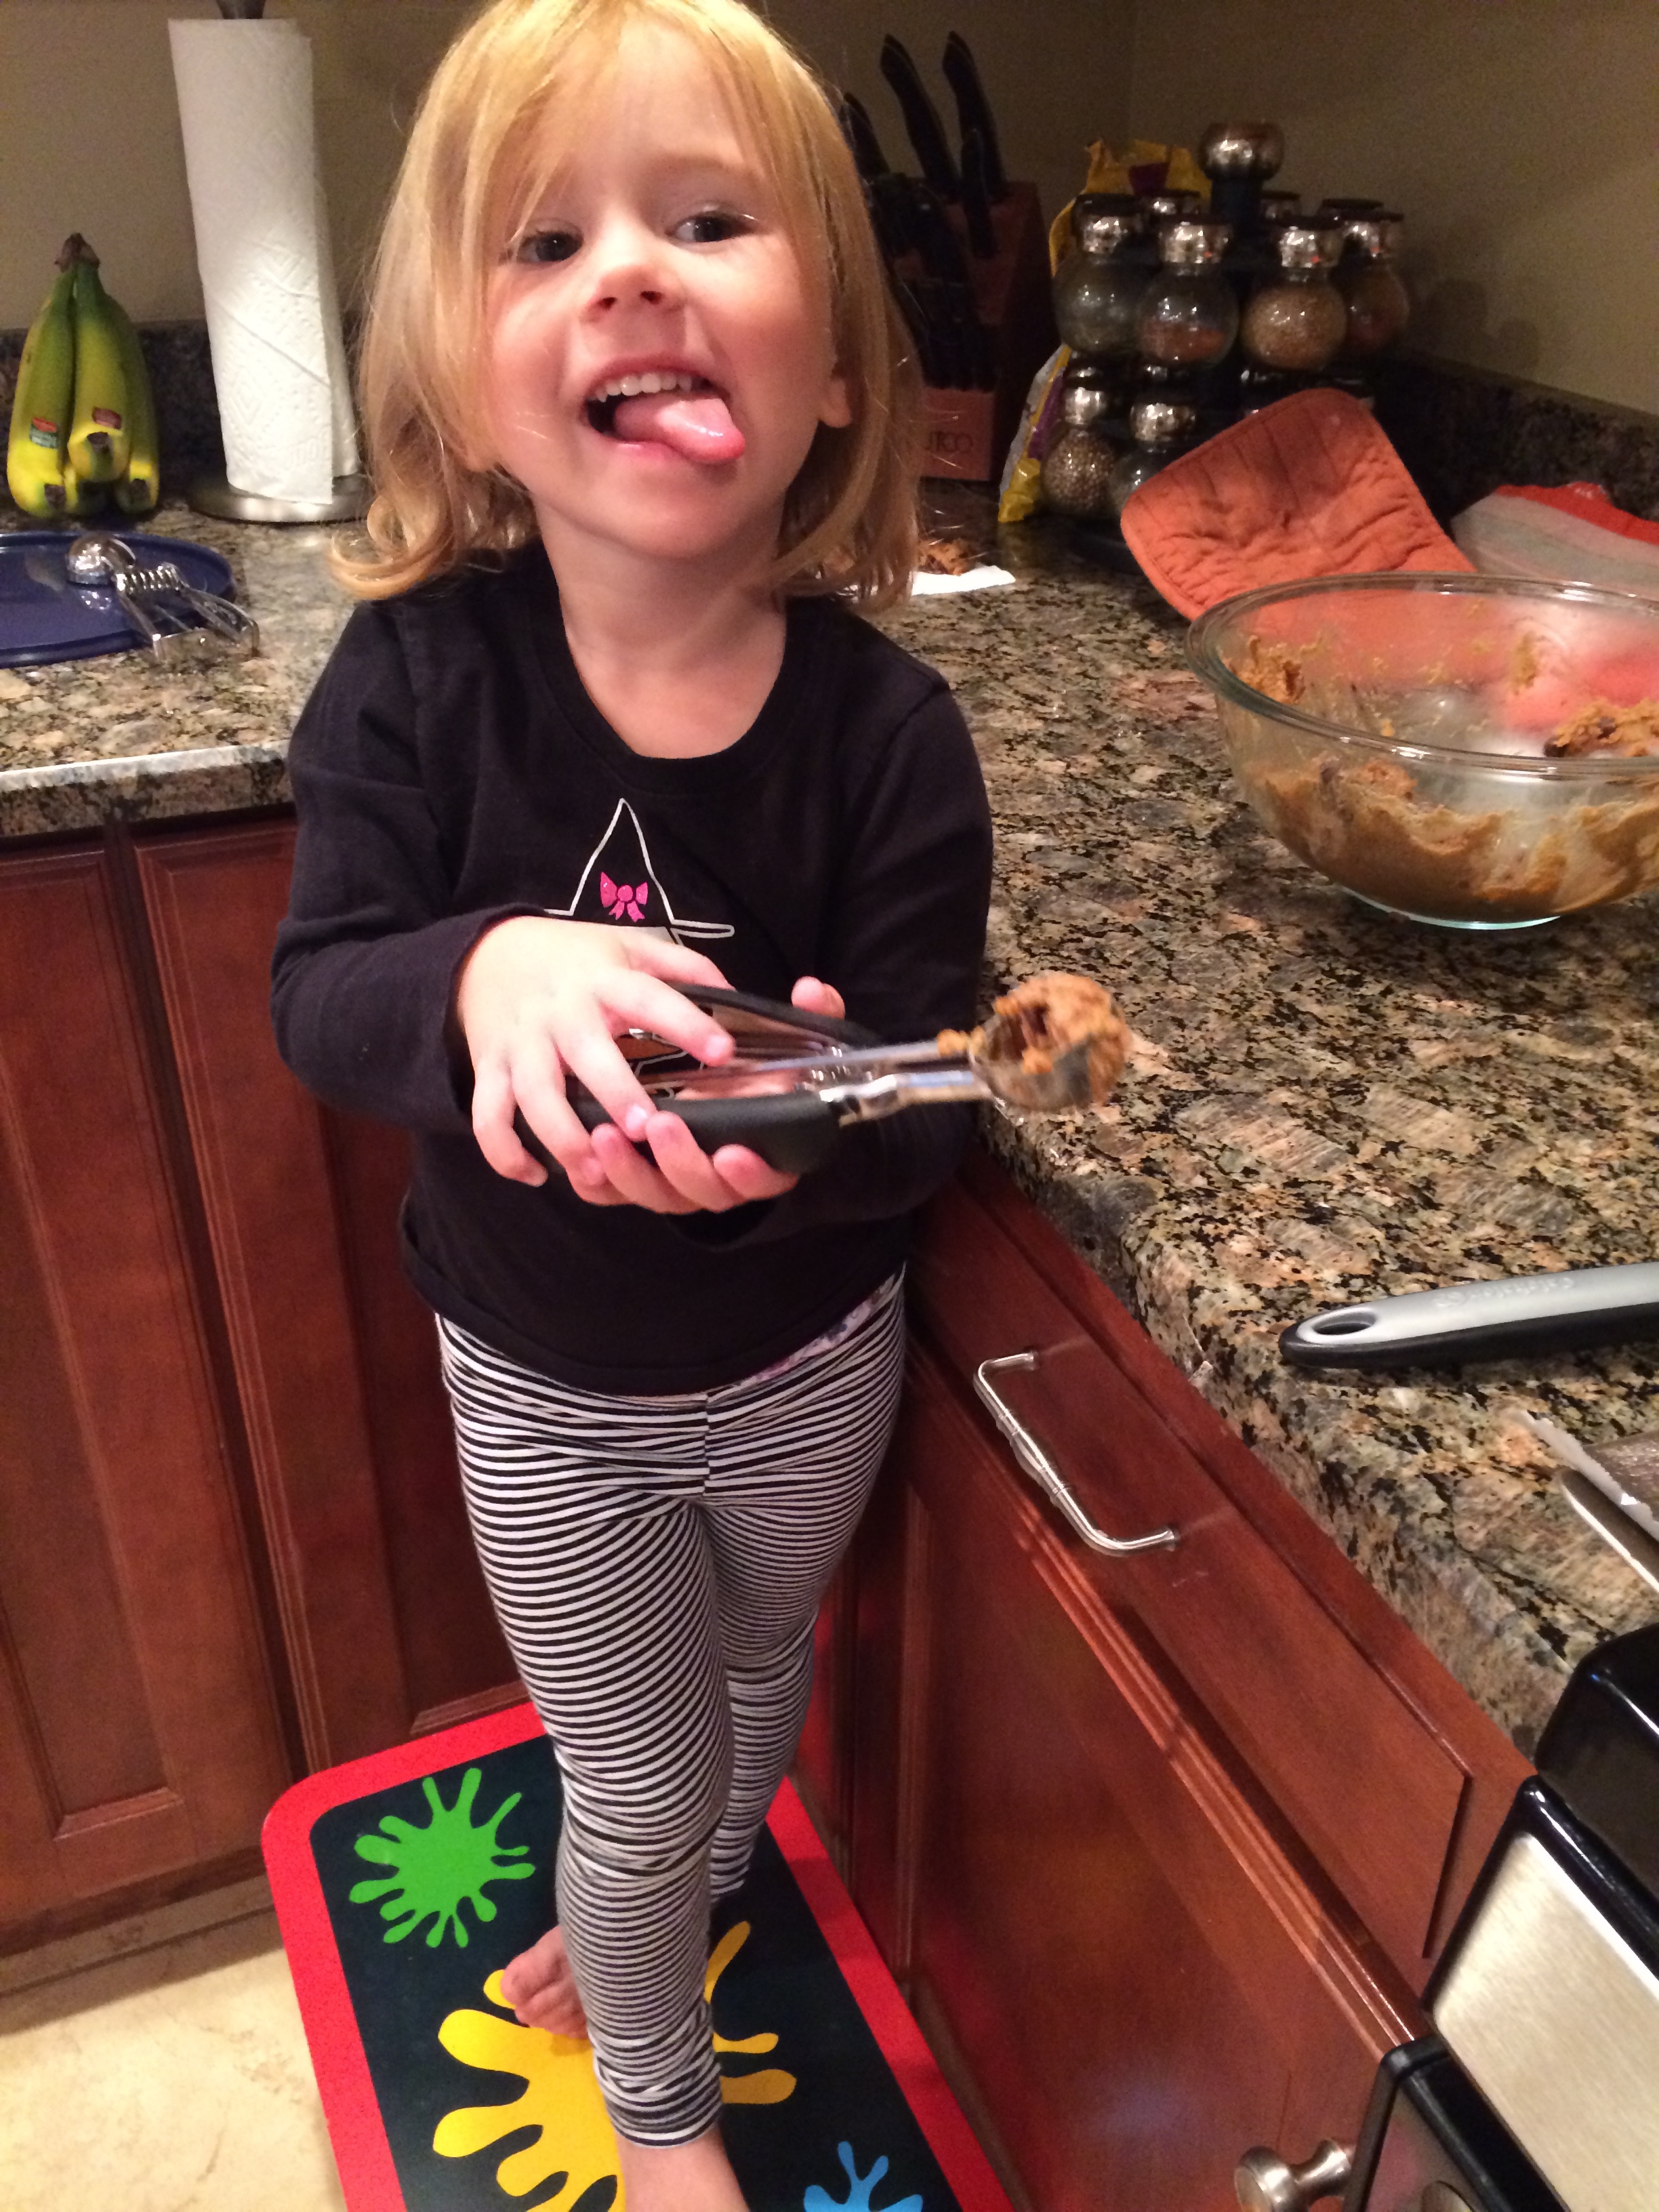
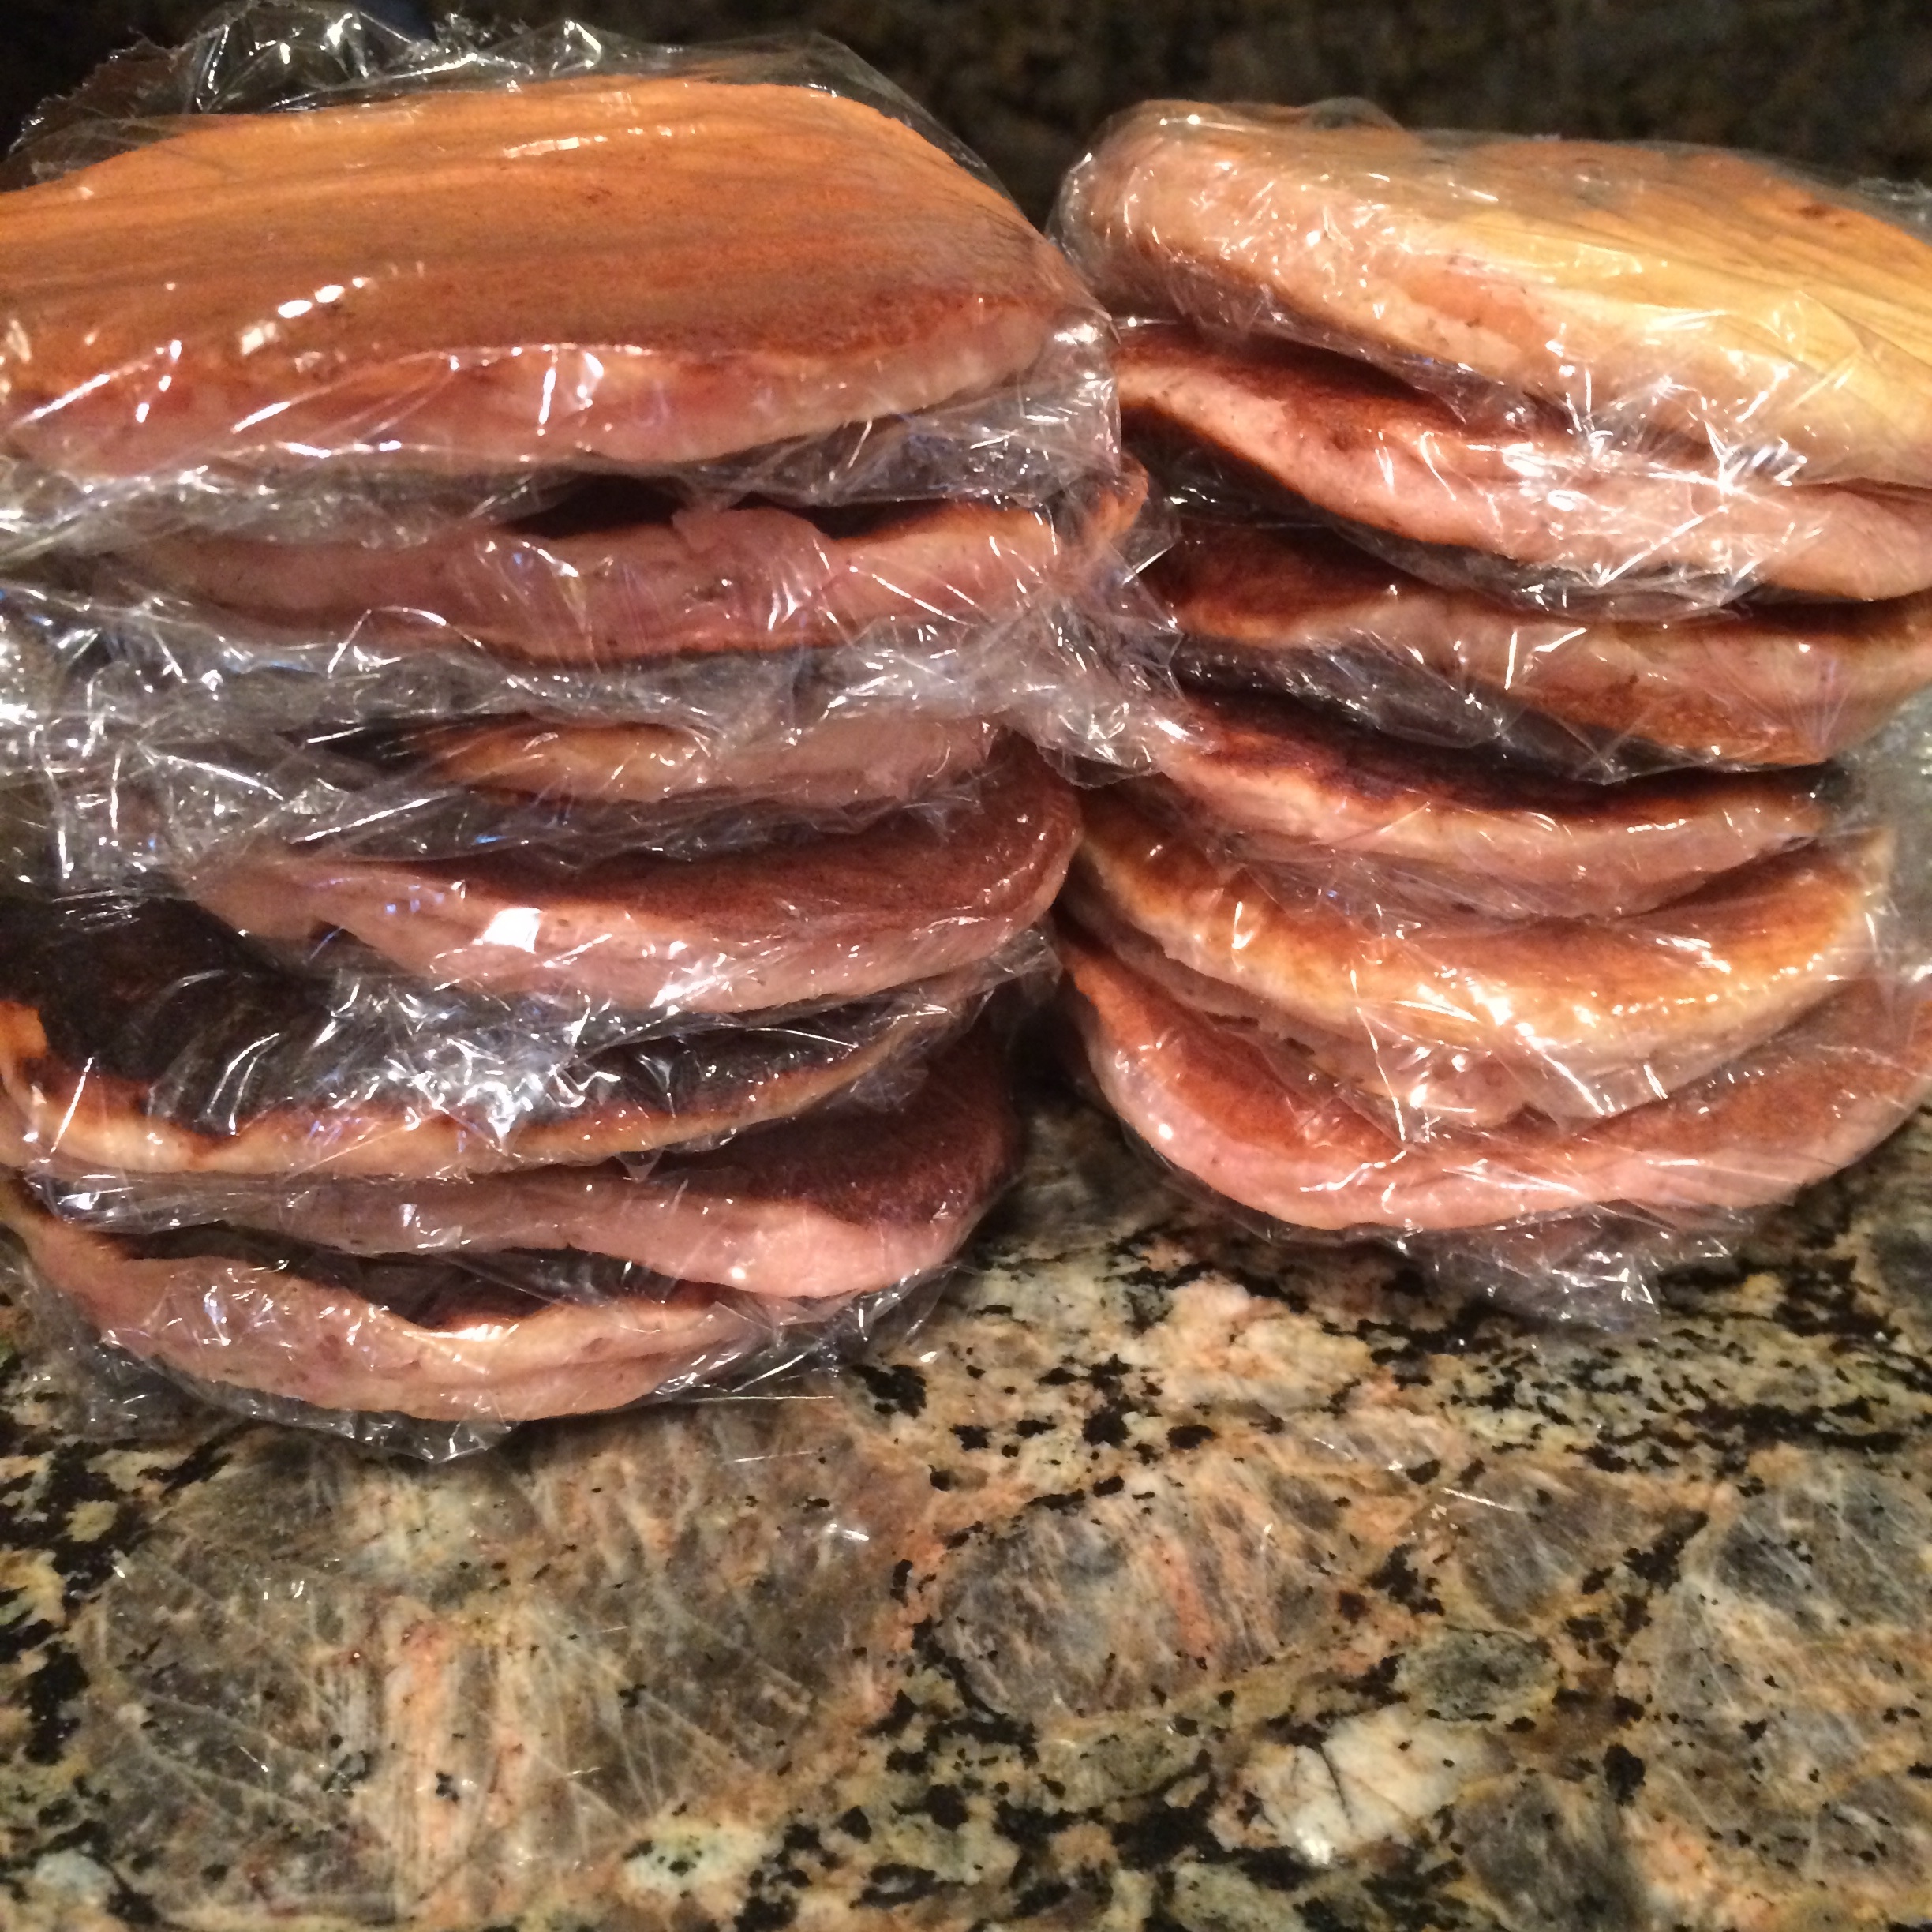
So I made the nutty shakeology no bakes a while ago and thought they were a great alternative to regular cookies. I took them to a family reunion and people were amazed to see that they were all natural “healthy” cookies. So when my mom asked me what I wanted for my birthday I quickly responded with the no bake cookies! I’ll admit – my mom got to my house late in the evening and I quickly ate 4 cookies. I couldn’t believe how delicious they were – so much better than mine!!! I thought it was just because my mom made them but nope – she did something differently – she melted the PB and honey first and she did half chocolate and half vanilla shakeo – and oooooooo what a difference!!! I’m not sure if its a good thing yet or bad thing because I cannot stop eating them but I feel obligated to share!

I was even able to return the favor and as my mom prepped for her first marathon this past weekend I asked her what I could provide to help her – and of course she wanted the no bakes!!! I was happy to hear these little bites help provide her energy as she powered through her 26.2 miles! I still don’t think they were as good as my moms…but they did the trick!

marathon, marathon fuel, 26.2,

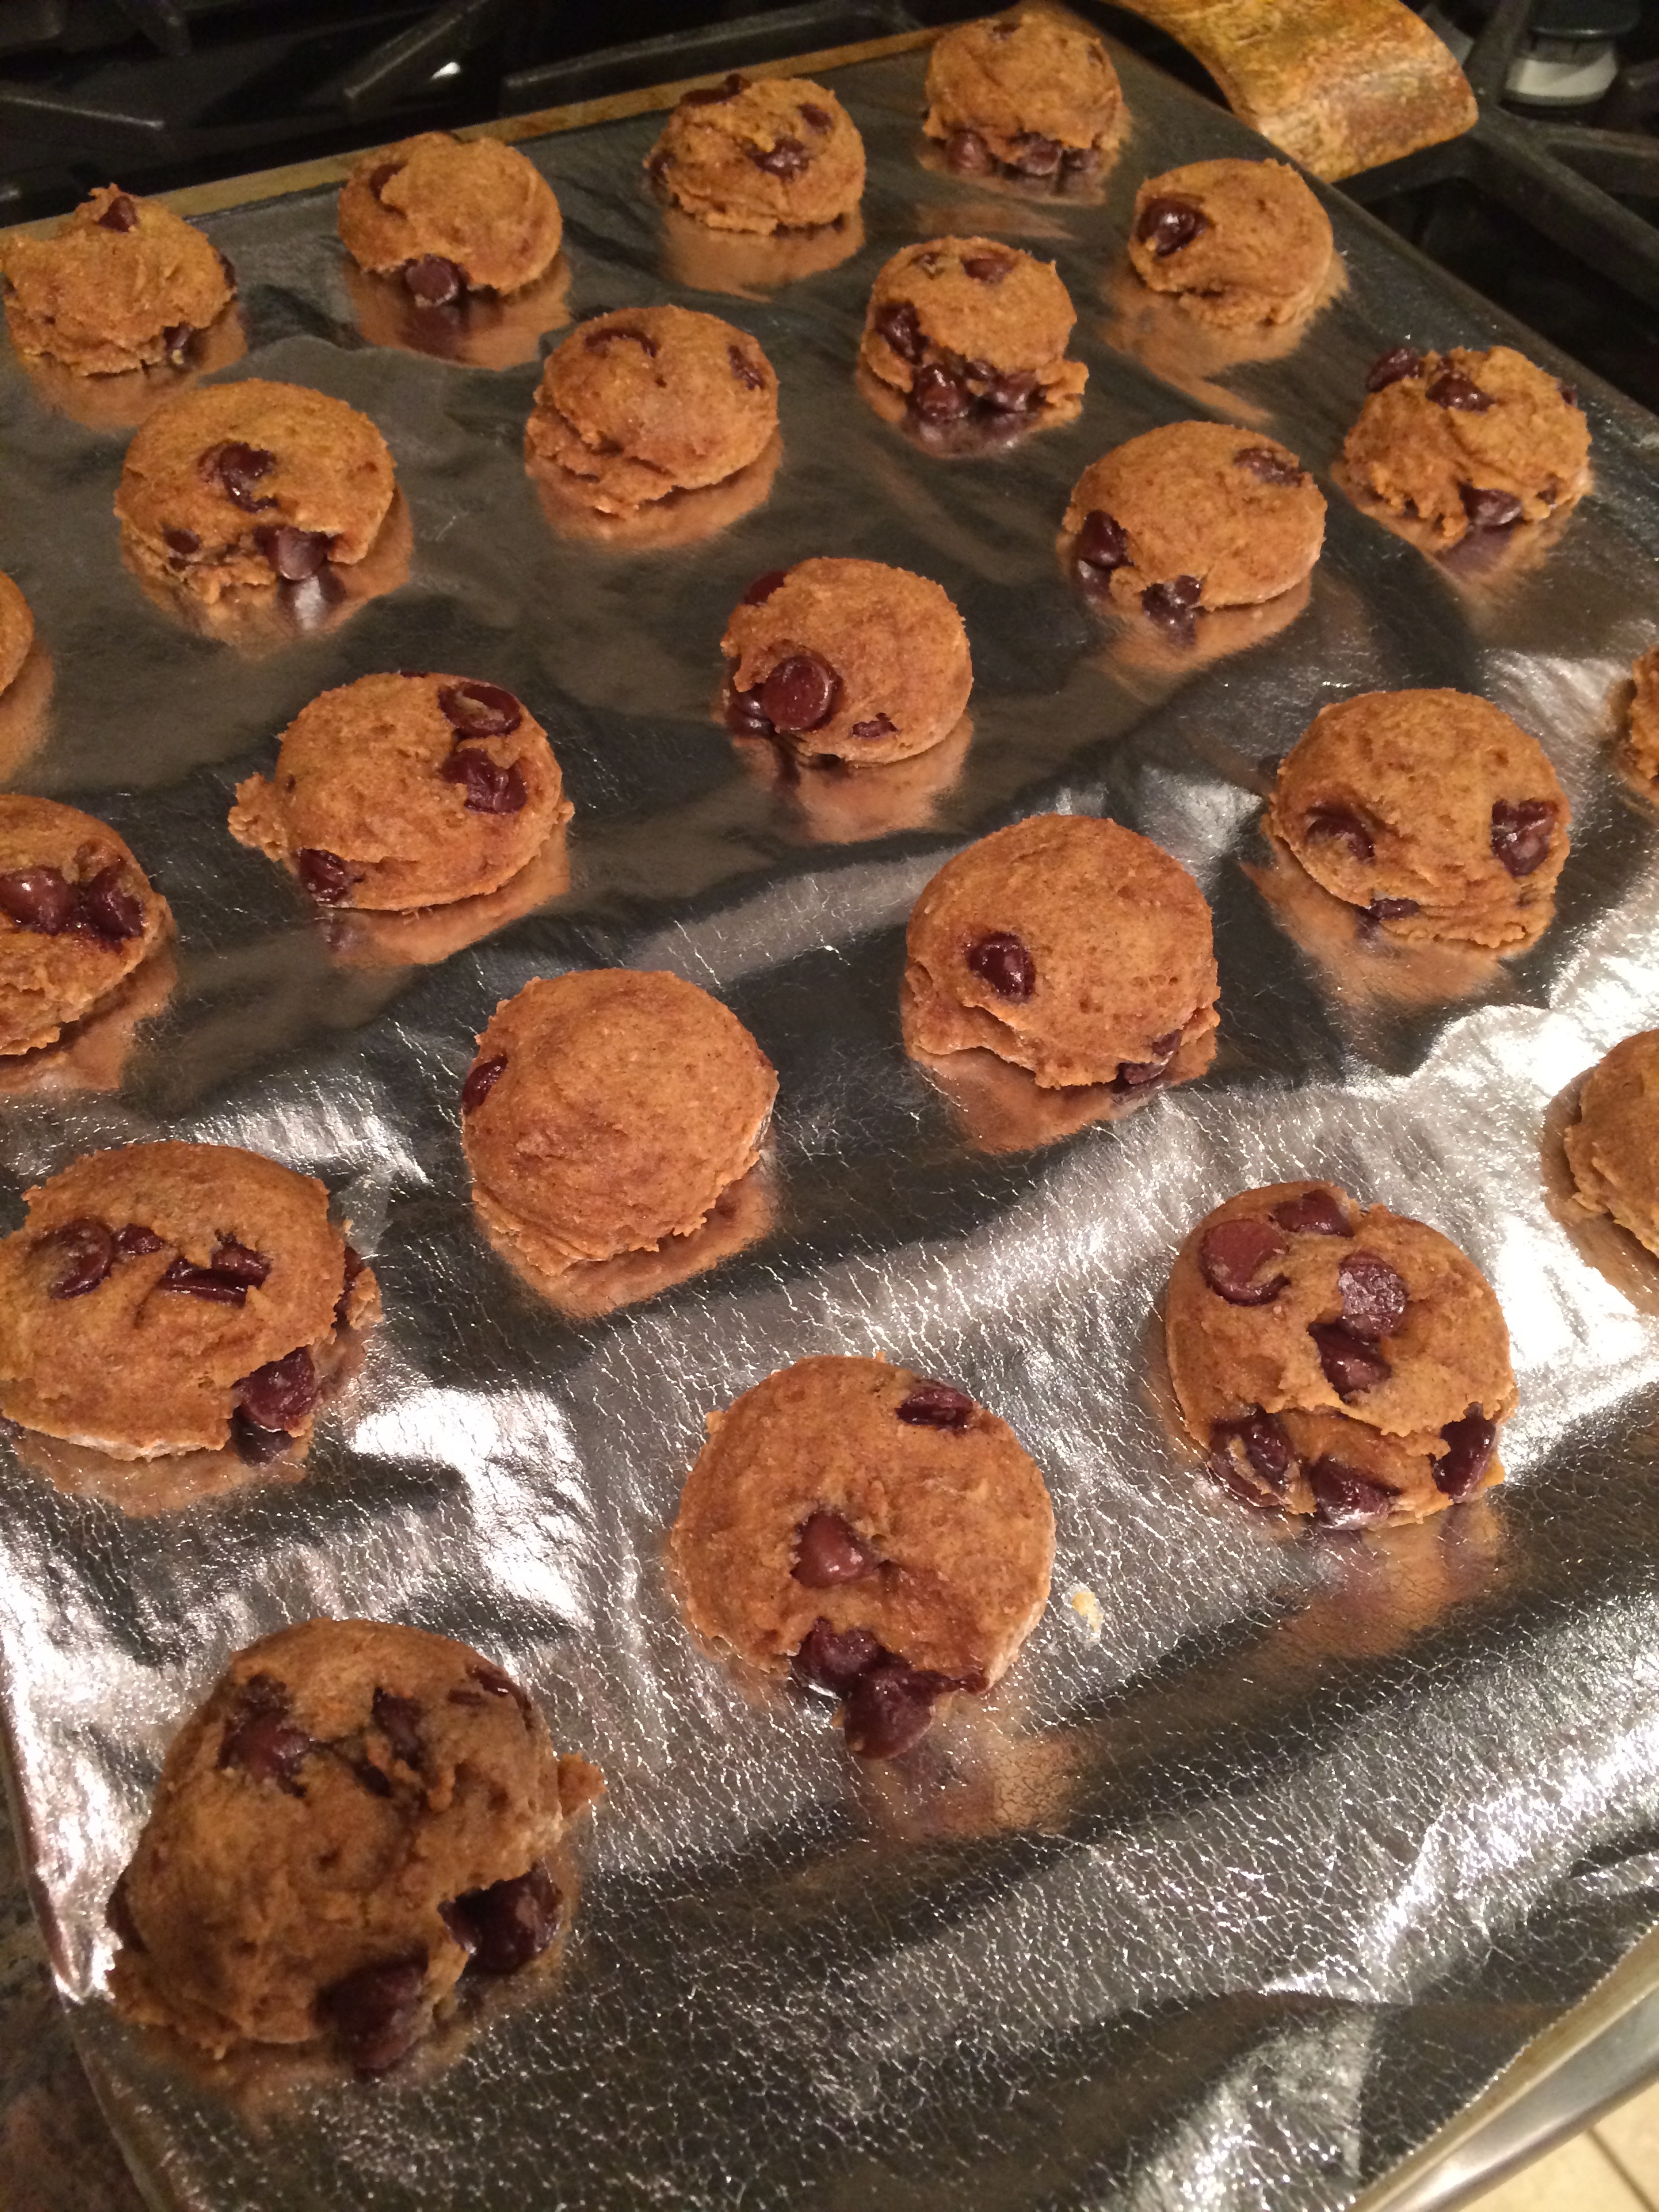
Black and White Shakeology No Bakes

(Makes 30-32 servings, 1 Cookie each)

Total Time: 15 min

Prep Time: 10 min

Cooking time: 5 min

WHAT YOU NEED:

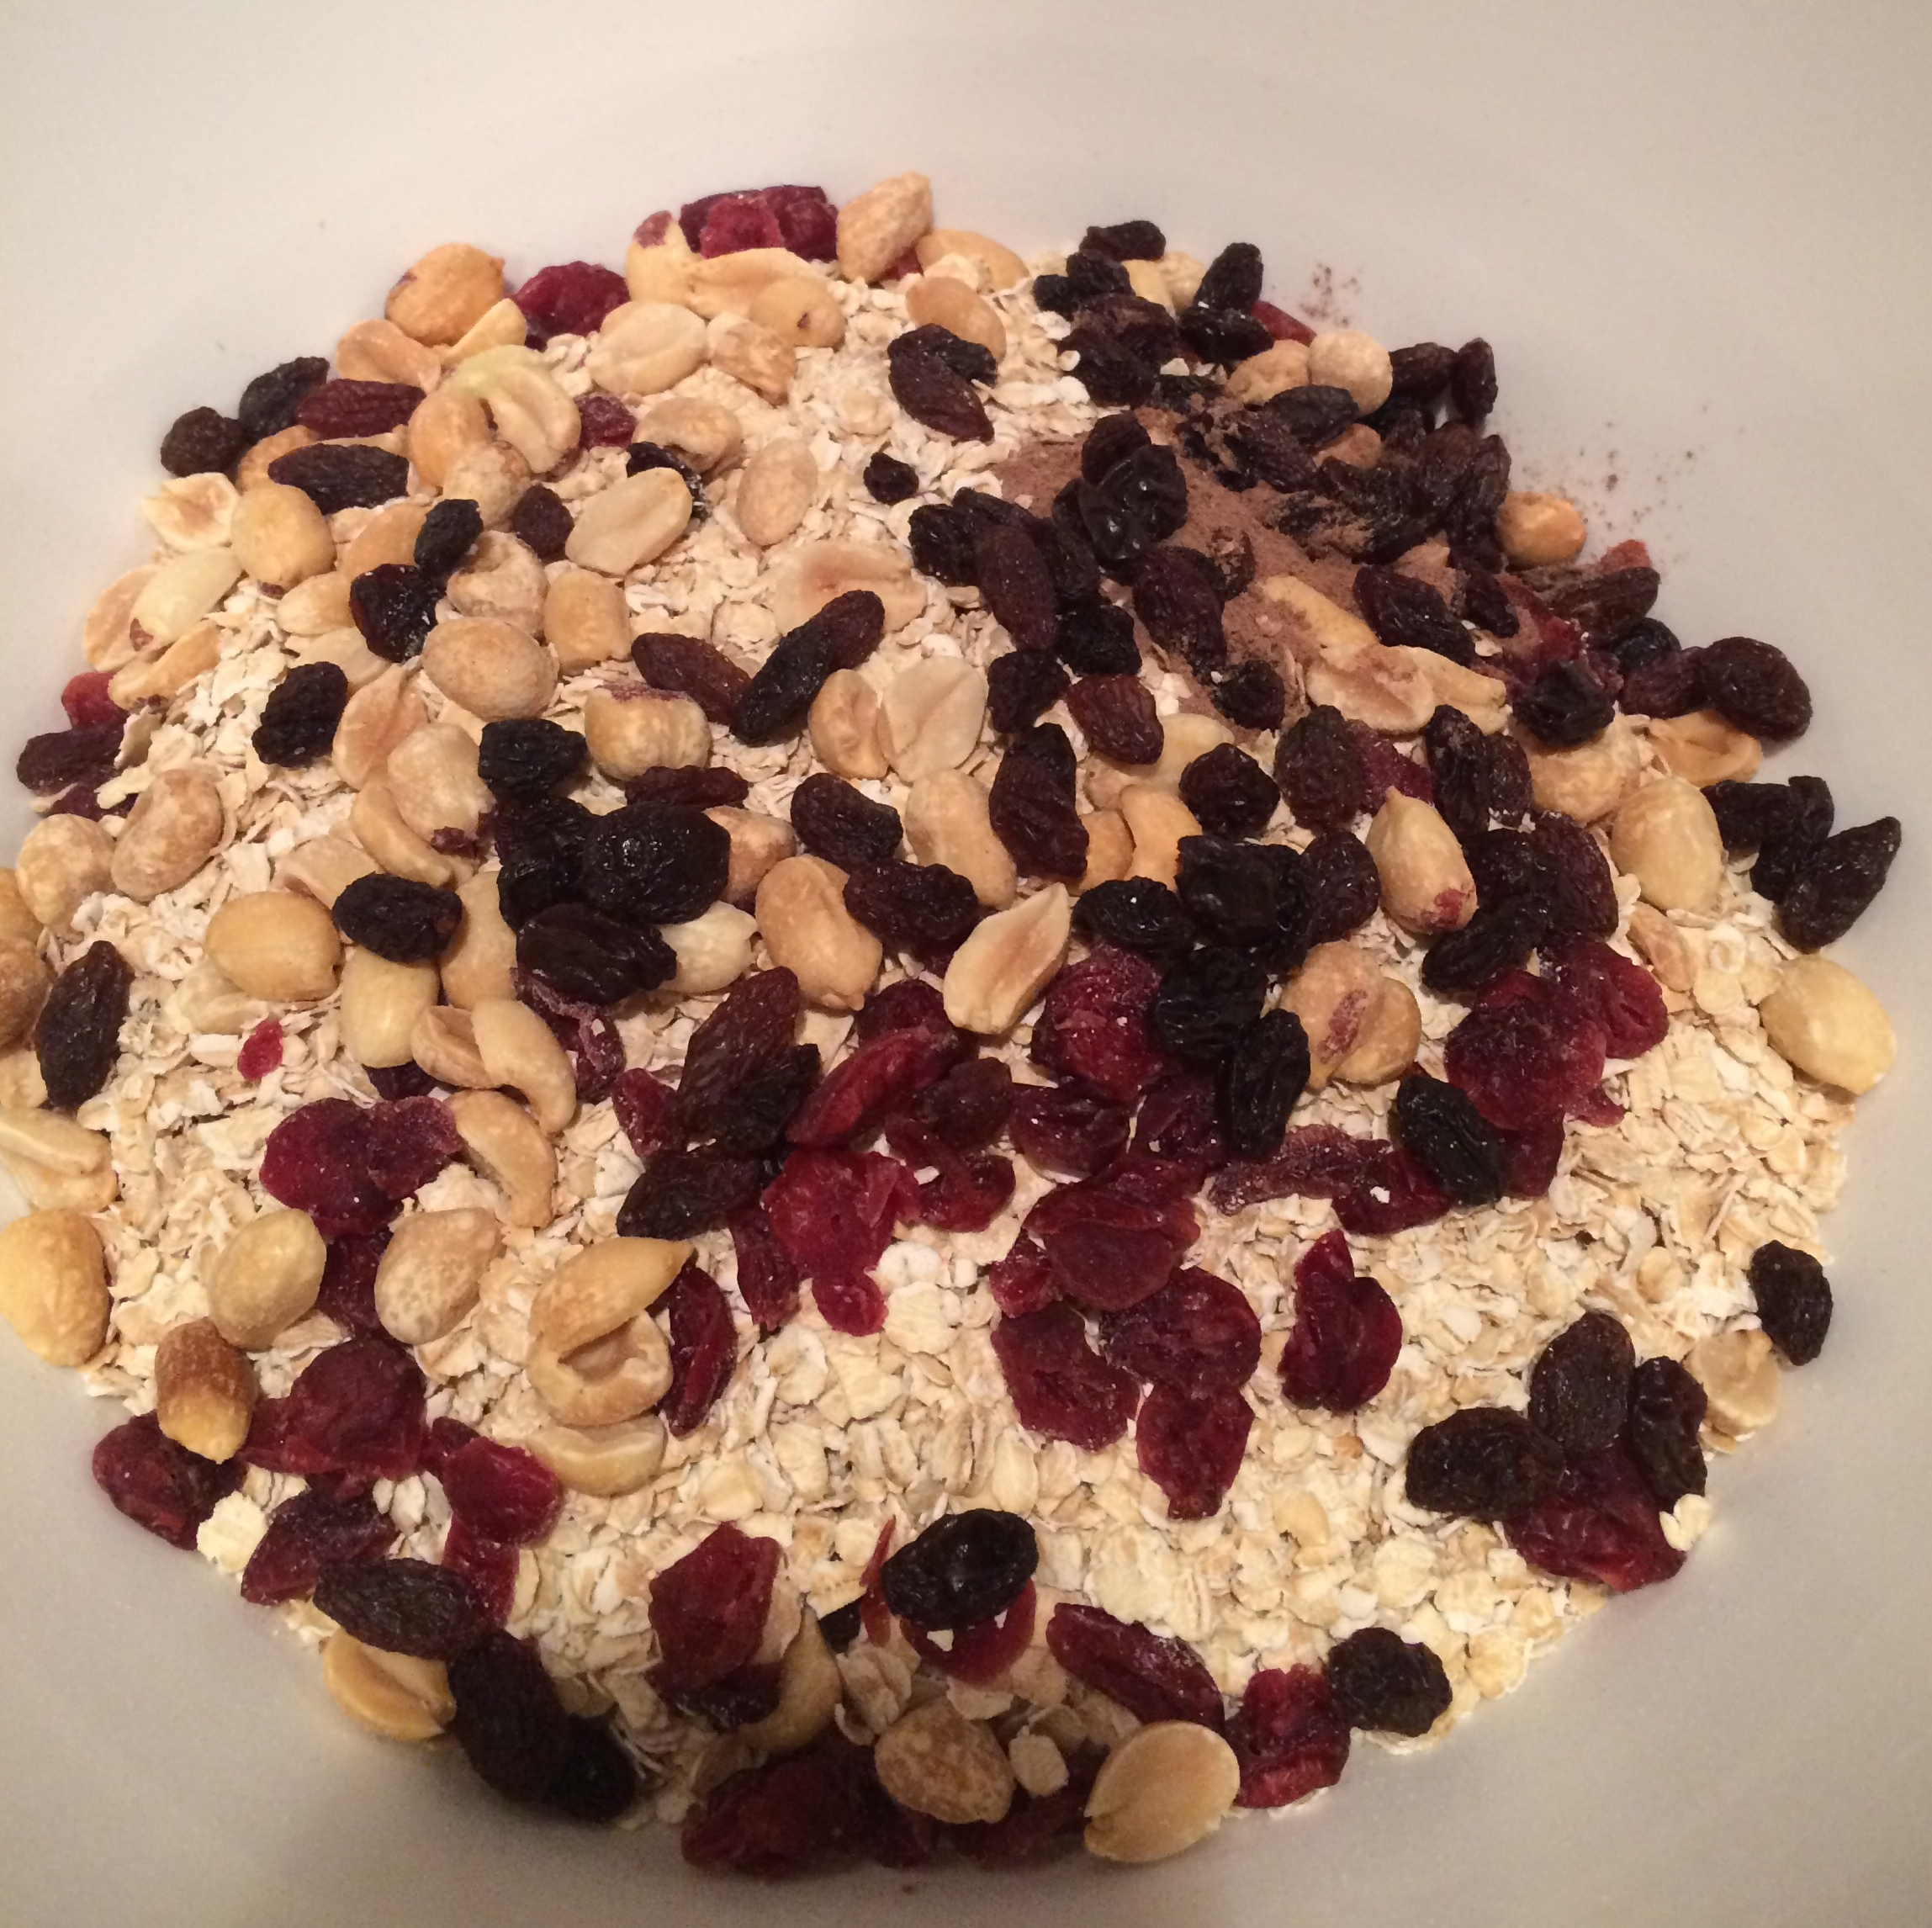
  • 1 Scoop Chocolate Shakeology
  • 1 Scoop Vanilla Shakeology
  • 1 cup all natural peanut butter
  • 1/2 cup peanuts
  • 1 cup quick-cooking rolled oats
  • 1/2 cup honey

WHAT YOU NEED TO DO:

  • MELT PEANUT BUTTER AND HONEY IN A MEDIUM SAUCEPAN.
  • AND SHAKEOLOGY  THEN OATS AND MIX WELL WITH A RUBBER SPATULA OR WOODEN SPOON.
  • SCOOP MIXTURE INTO 1-INCH SIZE BALLS (I FOUND THE PAMPERED CHEF SMALL COOKIE SCOOP TO BE A HUGE TIME SAVER HERE).
  • FLATTEN EACH BALL SLIGHTLY SO THAT IT IS SHAPED LIKE A TRADITIONAL COOKIE. AND THAT’S IT!
  • ENJOY 🙂
Optional: Roll cookie in crushed nuts, whole-grain graham cracker crumbs, or unsweetened coconut flakes
My advice – keep these in the freezer! This way you have to pull them out and let them sit for a few minutes before eating. It may help reduce eating them all at once!!!

You can get your own 30 day Shakeology supply HERE

Not sure what flavor you’d like – but still want to give Shakeology a try? Try this flavor sampler pack to figure what which is your favorite!

As a beachbody coach I run health and fitness challenge groups to help other people begin and/or continue their health and fitness journey and turn it into a LIFESTYLE! If you’re interested in more information about ways to enjoy clean eating and/or would like to be part of my upcoming challenge group,  fill out the form below! Together we can end the trend of obesity!

homemade reese cups, healthy dessert, chocolate and peanut butter, shakeology recipe, chocolate dessert, shakeology, Maegan Blinka

Homemade Reese Cups

Ok..ok…ok…so I workout daily…

pilates fix, 21 day fix, Maegan Blinka, E&E, daily workout, home workout

AND I strive to eat as clean as possible…I eat less CRAP:

eat less crap

But you know what?!?! I absolutely LOVE chocolate. And I LOVE peanut butter. And oh my put them together and WATCH OUT!

Thing is…I also like to be fit and healthy. When I eat clean I feel good. And when I feel good I am more confident. When I am confident I am happier all around so…how do I manage to stay on track?! I sweat daily and absolutely love finding ways to satisfy MY sweet tooth cravings and not undoing all the hard work I put in!

flex friday_10_10dirty 30, 21 day fix, Maegan Blinka, daily workout, homegym, sweating for a reason

As my hubby and I sat around Saturday night we were looking for a sweet treat. Something new, something different, and preferably something that combines chocolate and peanut butter!! So many of the recipes we found were loaded with sugar and that’s just not our style!

Kyle came across this recipe and I knew we had to give it a try.

Inside Out Shakeology Peanut Butter Cups:

homemade reese cups, healthy dessert, chocolate and peanut butter, shakeology recipe, chocolate dessert, shakeology, Maegan Blinka

(makes 2 servings)

WHAT YOU NEED:

  • 2 tsp Chocolate Shakeology
  • 2 tsp unrefined coconut oil, melted
  • 2 TBS PB2
  • 2 TBS water

WHAT YOU NEED TO DO:

1. Combine oil and PB2 in a small bowl; mix well. Set aside.

2. Combine Shakeology and water in a small bowl; mix until it has a pudding like consistency. Set aside

3. Coat two foil muffin liners evenly with half of the peanut butter mixture. Top evenly with Shakeology mixture

reese cup_step by step

4. Freeze for 30 minutes or until firm

reese cup_comparison

Nutritional Information: (per serving)

Calories: 64

Total Fat: 5g

Saturated Fat: 4g

Protein: 3g

Recipe obtained from http://www.shakeology.com

My personal take on these: They don't "taste" like a traditional, artificial ingredient filled candy bar...but they are delicious! You can definitely taste a int of coconut from the oil and I think they would be more peanut buttery if you used all natural peanut butter rather than PB2...however for a 64 calorie treat, these can't be beat!

You can get your own 30 day Shakeology supply HERE

Not sure what flavor you’d like – but still want to give Shakeology a try? Try this flavor sampler pack to figure what which is your favorite!

As a beachbody coach I run health and fitness challenge groups to help other people begin and/or continue their health and fitness journey and turn it into a LIFESTYLE! If you’re interested in more information about ways to enjoy clean eating and/or would like to be part of my upcoming challenge group,  fill out the form below! Together we can end the trend of obesity!

Peanut Butter Banana Quesadilla

Ok ok…this perhaps shouldn’t be a nightly treat, but my goodness it sure is a treat!!!!

PB banana quesadilla_cooked

Peanut Butter Banana Quesadilla

WHAT YOU NEED:

  • 1 Whole Wheat or corn tortilla
  • 1/2 banana
  • 1 TBS all natural peanut butter, almond butter or your favorite nut butter
  • Optional – 1 TBS of chocolate chips

WHAT YOU NEED TO DO:

There are two ways you can do this – 1) Heated in a skillet as a quesadilla -OR- 2) Colt, rolled up as a “wrap”

1) – Spread the peanut butter on half the quesadilla, add sliced banana and sprinkle with chocolate chips. Fold in half and warm in skillet 2-3 minutes each side

PB banana quesadilla

2) Follow same steps as in 1 above but rather than heating in a skillet simply roll up and ENJOY!

My kids love this, my husband loves this, and I love this!!!

PB banana quesadilla_open


Pumpkin Chocolate Chip Cookies

Pumpkin choc chip cookies_baked

Lately my daughter and I have been following the same afternoon routine…Little bro goes down for a nap and the girls head to the kitchen! Its usually some Almond Butter Rice Krispy treats (as in approximately every other day because I can’t seem to keep my hands out of the pan), but she had a new request for an old favorite – Chocolate Chip cookies! I have the best recipe from Hubby’s grandmother but its been so long since I baked that when I went to pull out the ingredients I realized I only had whole wheat flour. Now, I’m sure they still would have been good…but they would not have been “MeMaw’s cookies” so I had to come up with a new plan. I found a can of pumpkin leftover from last fall-but-it hadn’t expired…enter – Pumpkin Chocolate Chip cookies!

I didn’t have a recipe of my own so I went to google and found this one from Sally’s Banking Addiction. Again, since I was so unprepared I made a few alterations but followed her main directions and swapped out some things here and there to make them my own. All in all they turned out great, my daughter enjoyed them, and my husband was even happier to come home to cookies after work! From a girl who used to bake weekly…homemade sweets are rare these days and most certainly treasured when around!

Pumpkin Chocolate Chip Cookies

(makes 36 small cookies)

WHAT YOU NEED:

  • 1/2 cup (1 stick) margarine
  • 1/4 cup  light  brown sugar
  • 1/2 cup  granulated sugar
  • 1 teaspoon vanilla extract
  • 1 cup pumpkin pie filling
  • 1 and 1/2 cups whole wheat flour (or all-purpose flour if you prefer)
  • 1/4 teaspoon salt
  • 1/4 teaspoon baking powder
  • 1/4 teaspoon baking soda
  • 1 and 1/2 teaspoons ground cinnamon
  • 1 and 1/2 teaspoons of pumpkin pie spice
  • 1 cup milk chocolate chips
 WHAT YOU NEED TO DO:

In a medium bowl, whisk the melted butter, brown sugar, and granulated sugar together until no brown sugar lumps remain. Whisk in the vanilla and pumpkin until smooth. Set aside.

In a large bowl, toss together the flour, salt, baking powder, baking soda, cinnamon and pumpkin pie spice. Pour the wet ingredients into the dry ingredients and mix together with a large spoon or rubber spatula. The dough will be very soft.  Fold in 1 cup milk chocolate chips. They may not stick to the dough because of the melted butter, but do your best to have them evenly dispersed among the dough. Cover the dough and chill for at least 30 minutes, or up to 3 days. Chilling is mandatory.

Take the dough out of the refrigerator. Preheat the oven to 350F degrees. Line a large baking sheets with parchment paper

Pumpkin choc chip cookies_dough balls

Using a cookie scooper (I like the pampered chef small cookie scoop) scoop the dough balls (or roll the dough into balls, about 1 Tablespoons of dough each).

Pumpkin choc chip cookies_Aub

Bake the cookies for about 9 minutes. The cookies will look very soft and underbaked. Keeping them in the oven for longer may dry them out.  Remove from the oven and press a few more chocolate chips onto the tops, if desired.  If you find that your cookies didn’t spread much at all, flatten them out when you take them out of the oven.

Pumpkin choc chip cookies_collage


21 day fix approved side dish, sauteed squash, healthy veggie side

Sauteed Squash

My mother in law used to make the best squash and truthfully, that’s how I got hooked on this little veggie…cooked in butter, with a few eggs and topped with cheese – Ahmazing – tasting!!!! Problem is – as delicious as it was it just doesn’t fit into my lifestyle anymore. I saw some delicious bright yellow squash at the farmers market over the weekend and couldn’t help but snag a few up! I’m getting pretty good at taking a healthy spin on things so with a few tweaks this old favorite is back in the weekly rotation – as a new, improved, 21-day fix approved side dish!!!

Sauteed Squash

WHAT YOU NEED:

Makes about 3-4 servings; 1 green container and 1 teaspoon on the 21-day fix meal plan (I don’t count the egg whites towards a red because there is so little!)

  • 2-3 large squash, sliced
  • 1 small onion
  • 1 TBS olive oil
  • 3 egg whites
  • Sea salt to taste

WHAT YOU NEED TO DO:

Heat the oil over medium heat for about 2 minutes

Add the squash and onion and place the lid on the pan. Cook for about 20 minutes, continually stirring and chopping as the veggies cook. You’ll notice the squash really cook down!

21 day fix approved side dish, sauteed squash, healthy veggie side

I like to cook it until all the water evaporates, but if you don’t like it cooked as long you could always drain out some water once the squash is cooked to your liking

sauteed squash, 21-day fix approved side, healthy veggie option

Move the squash to the side of the pan and add the egg whites – scramble the egg whites and combine  with squash. Top with a little sea salt if desired and you’re ready to go!

sauteed squash, healthy veggie option, 21 day fix approved side dish

I love to serve this side with Turkey meatloaf and a baked sweet potato. I also eat it by itself as a side with lunch – you can’t go wrong!

Shakeology bars, 21-day fix approved snack, High Protein Chocolate Peanut butter bars, homemade peanut butter chocolate bars

High Protein Chocolate Peanut Butter Snack Bars

ate the whole kitchen quote

This has been me lately…my meals are spot on, largely in part because I make my meal plan each week, grocery shop, prep and stick to it! So that’s not the problem…the little treats on the other hand haven’t been so little!  I don’t know what it is but my sweet tooth is out of control! I think I use my daughter’s simple request to bake something as an excuse just so I can have some myself too!! I swear, I am totally fine when its not in my house but when its sitting on the counter – its like I lose all sense of self-control!

For example – we went to Bob Evans after church Sunday. And they just so happen to place those little boxes of cookies right at kid eye level. Naturally, my daughter reaches for a box of the M&M cookies – typical – but rather than just getting her what she asks for I grab the apple oatmeal ones, in my mind justifying because they have oats so they have to be the healthier choice and you got a “deal” if you bought two. Well after quickly inhaling not one, but two full cookies after lunch I turned the box over to see each one had 380 calories – not a typo – 380 CALORIES PER COOKIE – and I ate two! That’s just gross! I was so disgusted with myself yet repeated this the following day! At this point I told my hsuband to eat them or get them out of the house 🙂 Why does he seem to have such better self control when it comes to this stuff?!?!

So long story short – I needed to come up with a healthier, 21-day fix approved snack. I’ve made the shakeology nutty no bakes and LOVED them but wanted something different – so I snagged this out of the 21-day fix eating plan guide.

High Protein Chocolate Peanut Butter Snack Bars

Total Servings – 24, 1 bar each

One serving – one bar, counts as 1 yellow on the 21-day fix meal plan

WHAT YOU NEED:

  • 4 scoops Chocolate Shakeology
  • 2 cups quick-cooking old-fashioned rolled oats
  • 1/3 cup chopped raw peanuts
  • 1/2 cup golden raisins (I used a craisin and raisin mix bc that’s what I had)
  • 1 cup unsweetened almond milk
  • 1/2 cup all natural creamy peanut butter

WHAT YOU NEED TO DO:

Combine Shakeology, oats, peanuts and raisins in a large mixing bowl, and mix well

High protein chocolate peanut butter shakeology bars, 21 day fix approved

Shakeology Bars

Add almond milk and peanut butter; mix well

Shakeology bars, 21-day fix approved snack, High Protein Chocolate Peanut butter bars, homemade peanut butter chocolate bars

High Protein bars mixed – this can take some time and muscle but its worth it!

Press mixture into 8×8-inch baking pan, cover and refrigerate for at least 3 hours.

Shakeology bars, 21-day fix approved snack, High Protein Chocolate Peanut butter bars, homemade peanut butter chocolate bars

All ready to set in the fridge!!

Cut into 24 bars – enjoy!


Healthier pancakes, kid friendly pancakes, freezer friendly pancakes, busy mom tip

Busy mom tip freezer friendly pancakes

pancakes_ingredients

How many times do your kids ask for pancakes on a morning that you just don’t have time to make them?

How many times do you pull a pack of the pre-made pancakes from the freezer and toss them in the toaster and think – is there any nutritional value in those?

Well I’ve learned quickly – pancakes FREEZE and THAW so easily!!!! Take advantage of the (extra) time you (may) have over the weekend, whip up a batch and freeze for the week!

I’ll start by saying I’ve tried feeding my kids the pancakes with oats, and honey and greek yogurt and whole wheat flour and egg whites and while my husband and I love them and my 1 year old who “eats anything you place in front of him” doesn’t bat an eye, I can’t seem to make those fly with my 3-year old no matter how many chocolate chips I add or how much syrup is drizzled on top! I decided I needed to take a step away from the “healthy and clean pancakes” for now and I’m focusing on trying to make the ones she does like healthIER than they used to be!

I’m not going to say that these pancakes are exactly “clean” but there is some nutritional value here, you can make them fun with different add ins and they’re so convenient especially for those busy mornings!!!!

Meet: Hot Pink sprinkled healthIER pancakes!!

WHAT YOU NEED:

*2 cups of a Complete pancake mix (that only requires the addition of water)

* 1 Cup plain greek yogurt

*1 Cup applesauce

* 1 TBS ground flax seeds

*2-4 TBS of water to get the desired consistency (you don’t want them too thick or runny!)

*Your favorite sprinkles – but from my daughter’s stand point, hot pink sprinkles make everything taste better!


WHAT YOU NEED TO DO:

Heat a greased griddle at medium heat (You don’t want this too high because they will burn. The griddle is ready when you drop a small amount of batter and it sizzles)

Mix the first four ingredients together with a wooden spoon until well blended

Add the water until you reach the desired consistency (I like them thick but not so much like a cookie dough…it should pour out)

Add the sprinkles but be careful not to overmix or the colors will start to spread a lot! (We had to add our pink sprinkles a second time because my daughter couldn’t “see” them anymore! You could also add in chocolate chips. Some other addins we’ve tried were chocolate chips, white chocolate chips, peanut butter chips, bananas and blueberries – all delicious!

Healthier pancakes, kid friendly pancakes, freezer friendly pancakes, busy mom tip
Pancake batter with pink sprinkles

Using a cookie scooper or 1/4 cup measuring cup, scoop 4 pancakes onto the grill. Make sure you allow some additional room for the pancakes to spread while cooking

Cook approximately 1 minute each side. You’ll know when they’re ready to flip when the edges start forming and the bubbles are gone

Flip and cook an additional 45-60 seconds

Let cool on a paper towel

pancakes_cooling


Once completely cool, wrap the remaining pancakes in saran wrap

freezer friendly pancakes, weekday breakfast, toddler friendly breakfast, healthier pancakes

Place each pancake into a freezer ziplock bag

pancakes_ready to freeze

To cook after frozen: pull from freezer the night before and microwave in the morning for 8-10 seconds – or – defrost in the microwave for approximately 2 minutes (I usually enter “.2 pounds” on my microwave) – and you’re all set!

I hope you find this helpful and delicious at the same time!!!


Smoked Mozzarella and tomato chicken muffins, gluten free dinner, ground chicken, new recipe idea, fast and healthy dinner, 21 day fix approved recipe dinner idea

Smoked Mozzarella and Tomato chicken muffins

Smoked Mozzarella and tomato chicken muffins, gluten free dinner, ground chicken, new recipe idea, fast and healthy dinner, 21 day fix approved recipe dinner idea

So…I picked up a pound of ground chicken last week at the grocery store in hopes to make some homemade chicken nuggets for my picky, carb loving, anti-protein-eating 3 year old but every recipe I found seemed too difficult or I was missing something here and there and to be honest, she probably wouldn’t have eaten them anyway! Time was ticking before the meat either needed cooked or frozen so I decided it was time to get creative…and the Smoked Mozzarella and Tomato chicken muffins were created!

Besides….my amazing, supportive husband “happily” ate turkey burgers for dinner 3-nights in a row so I really wanted to make him something tasty! (Hey – this fall weather has been too good to be anywhere but outside!!!)

Colt outside

WHAT YOU NEED:

(makes 12 muffins)

Prep time: 10 minutes, Cook time: 35-40 minutes

  • 1 pound ground chicken
  • 2 eggs
  • 1 TBS WILDTREE Smoked Mozzarella and Tomato seasoning
  • 1 TBS Minced Garlic
  • 1/2 Cup Low fat, shredded Mozzarella cheese (I prefer the Sargento but any brand will work!)
  • 1/2 cup Rice Krispies

A few things to note: You could sub out the rice krispies for bread crumbs…I was just trying to keep it gluten free and my daughter liked dumping “her” cereal in the bowl so we went with it. Also, the seasoning is what makes this recipe. Wildtree makes organic, non-GMO all natural seasonings…I attended a home freezer meal workshop a while ago and found so many great seasonings that really fit our lifestyle! 

WHAT YOU NEED TO DO:

  1. Spray pan with olive oil to prevent sticking (let’s just say learn from my mistakes!)
  2. Preheat oven to 350 degrees
  3. Mix eggs, seasonings and garlic in a large mixing bowl
  4. Add the ground chicken and stir with a wooden spoon until well blended.
  5. Add the cheese and rice krispies and continue stirring until the mixture holds together well.
  6. Using a large cookie scooper, scoop into a muffin pan. (You can also roll into 2″ balls…I just have an aversion to touching meat and avoid when possible!!) You should get about 12 muffins total.
  7. Bake muffins for 35-40 minutes or until thoroughly cooked through
  8. Enjoy!

smoked mozzarella and tomato chicken balls, weeknight dinner idea, ground chicken recipe, uses for ground chicken, kid-approved dinner idea, fast and healthy clean eating dinner

For all my 21-day fixers: 3 muffins would equal 1 red serving and 1/2 a yellow.


I run challenge groups monthly where I share my tips for success to a healthier you – whether its clean eating ideas, encouragement to get started with an exercise routine or just all around support to live a happier lifestyle I can help! Fill out the application below and help me #endthetrend


Salted Caramel Banana Shakeology

Salted caramel banana shakeology, low calorie shakeology recipe, shakeology recipe, dairy free shakeology recipe, Caramel Shakeology, vanilla shakeology recipe, breakfast alternative

Salted Caramel Banana Shakeology

I love trying out new combos and finding new ways to enjoy my daily dose of Shakeology, and my caramel extract hasn’t failed me yet!!

As I walked down the basement to mix up a little late night snack for my hubby I knew I wanted to use the caramel extract but he tends to prefer the vanilla shakeo over the other flavors. Every other combo I had tried so far used chocolate shakeo and caramel extract. So, I stared at the blender, caramel extract in hand, for about 3 minutes before remembering I had a stock pile of frozen bananas and the wheels started turning. I decided to include a few banana pieces but rather than my usual (heaping) tablespoon of PB2 I went with the cocoa of PB2. A bit of chocolate but not overwhelming. I tossed in a sprinkle of pink himalayan sea salt and BAM – complete!  It was a hit with my hubs and after a small taste I knew I’d be duplicating the next morning 🙂

WHAT YOU NEED:

1 Scoop Vanilla Shakeo

1 TBS Cocoa PB2

1 tsp caramel extract

1/2 a frozen banana

A few shakes of pink himalayan sea salt (optional)

10 oz liquid (I used all water for mine, but 10 oz of almond milk for my husband – totally up to you and your preferences)

Lots of ice!!!

WHAT YOU NEED TO DO:

Add all ingredients to the blender. Crush ice for about 20 seconds and then blend until you reach the consistency you like. I prefer eating mine with a spoon so I blend it pretty thick!

All this goodness coming in just around 200* calories!

For all my fixers* out there: 1 red, 1 purple, 1 tsp

* The use of milk rather than water would add approximately 40 calories (unsweetened almond milk) and part of a yellow container if following the 21-day fix meal plan. 

Get your first month’s worth of daily, dense nutrition delivered right to your doorstep by clicking HERE.

Not quite sure if you’re ready for a full month – but still want to give it a try? Try the 4-flavor sampler pack! 

How to make your produce last longer

meal plan, how to make your produce last, produce prep,

Do you ever struggle to keep produce fresh, meals adequately planned, while managing to find that exact amount that leaves you balanced for each meal without wasting at the end of the week??? Oh meal planning – its such an art!!!


It seems like we are always running out of fruits and veggies and when I do stock up I end up throwing something out by the time garbage day rolls around regardless of how much I plan – and if there’s one thing that bothers me most its wasting food! Its like practically throwing money down the drain. So in an effort to avoid multiple trips to the grocery store and maximize my time and money spent in a week I started doing this one little trick to make my produce last a little longer: soak EVERYTHING in vinegar-lemon water!!!


Did you know that soaking your produce in a mixture of lemon juice and vinegar will help keep your produce fresh longer and cleans them all at the same time??? I started doing this a few weeks ago and it really helps! I try to get to the farmers market on Saturday morning and I come home, fill my sink with 2 cups vinegar and squeeze two lemons into the water and toss in the rinds then add all my produce! The only thing I did separately this week were the blueberries…too much other stuff in there! So they were done in a separate batch. Just soak everything for about an hour, let everything air dry, then package up into containers and/or freeze! I was able to get this done while doing other things around the house and now everything is ready to be consumed later in the week! 

A few other tips I’ve learned:

1) Certain fruits and veggies spoil faster than others…so that being said: Berries, Bananas, Kiwis, Avocados, Spinach/Lettuce and Grapes should be consumed first….Followed by Tomatoes, Mangoes, Peaches, Melons and Zucchini…then Cucumbers, Pineapples and Pomegrante, and save your Carrots, Oranges, Potatoes, Celery and Apples for last. So as you meal plan keep this in mind!!!

what order to eat produce, how to keep your produce lasting longer, make less trips to the grocery store, grocery shopping tips

2) In addition to eating your ripest produce items first – buy some that are ready to eat and some that need to sit a while. For example, I bought two sets of peaches on Saturday – 4 of them were ready to eat and my husband and I ate them Sunday and Monday and 4 more are sitting out and should be ready by Wednesday so we can have them later in the week. Same thing goes for bananas, avocados and pears!


3) Don’t be afraid to FREEZE!!! I know berry season is almost over so I doubled up on my blueberries and strawberries for several weeks and whatever didn’t get consumed by around day 3 after I bought them got tossed into a freezer bag. I’ll use these in my Shakeology, I’ll add them to yogurt and I’ll add them to my oatmeal. I don’t like to eat frozen berries alone but mixed in with something else and they’re great!!! Same thing goes for Bananas. If I ever see bananas on sale I’ll snag a whole bunch then I let them ripen and then cut into quarters, lay flat in a ziplock bag, freeze and then they’re ready for my morning Shakeology smoothie!!! Just make sure you peel them first…I’ve told several people to freeze their ripen bananas and they toss the whole thing in the freezer and let me tell you that peel doesn’t come off too easy!!!

how to freeze bananas, frozen bananas, bananas for Shakeology

If you find these tips helpful and would like to get 1:1 coaching and support along with motivation and accountability as you begin and/or continue your health and fitness journey, please fill out my challenge and accountability group application below! I share tips and recipes and I will help you with the one thing I always found so difficult – MEAL PLANNING!  Remember – your health and fitness success is 80% nutrition. You can get all the results and support you need right in your own home – and you don’t have to do it alone!